Ceramic veneers, such as the renowned Minish and ID Dental veneers, are currently the most popular dental cosmetic treatments in Korea. To ensure a smooth process within a 3–5-day schedule, please refer to this comprehensive preparation checklist.
Phase 1: Essential preparations before departure
1. Selecting a hospital and conducting an online preliminary consultation (essential)
- Make advance appointments: Top Korean dentists like Minish Dental, ID Dental, or Yeonsu Haori require reservations 2–4 weeks in advance.
- Online evaluation: Upload your dental photos through platforms like BeautsGO. This will help determine if you need periodontal treatment first (e.g., teeth cleaning or fillings), as veneers cannot be placed on teeth with gum disease.
- Confirming the schedule: Veneer procedures typically involve “impression-taking, fabrication, and installation.” Ask the hospital if they offer “1-day fast-track” or “within-3-days” services.
2. Documents and payment
- Visa: Check that your passport is valid for at least 6 months and apply for a C-3-9 tourist visa.
- Financing: The cost of a single ceramic veneer ranges from ₩600,000 to ₩1,200,000. Call your bank in advance to ensure your credit/debit card allows large transactions in Korea without restrictions.
Phase 2: Transportation and accommodation tips before traveling
1. Booking a flight: Leave enough “buffer time”.
- Recommended itinerary: Reserve at least 4 days and 3 nights.
- Arrival time: It’s best to book a flight arriving on Sunday or Monday. Many dental clinics in Korea are open only in the morning on Saturdays and closed on Sundays. If you arrive on Monday morning, you can immediately schedule a consultation and get impressions taken.
2. Booking a hotel: Choose locations near subway lines.
- Recommended areas in Seoul: Stay in Gangnam, Sinsa, or Nonhyeon.
- Advantages: 90% of top cosmetic and dental clinics in Korea are located along Subway Lines 3 and 9. You can walk directly to the hospitals, and it’s very convenient to return to your hotel to rest while the anesthesia wears off after treatment.
Stage 3: Precautions after arriving in Korea
1. Transportation: Use a T-money card for everything.
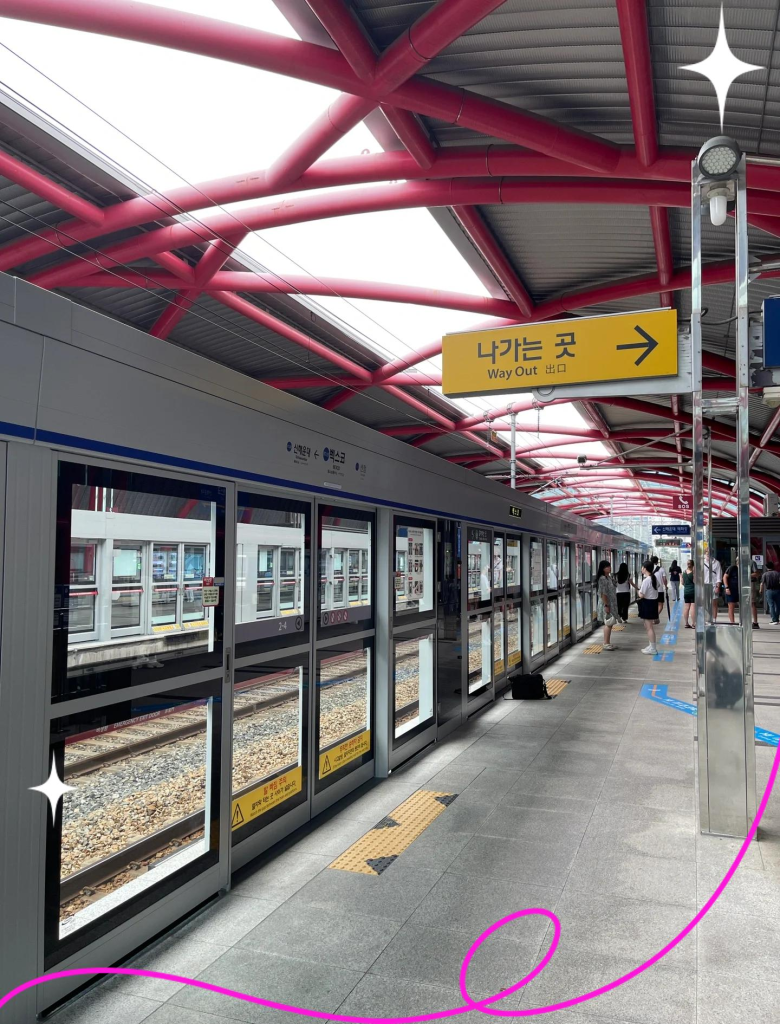
- Subway: Download NAVER Map or KakaoMap (Baidu Maps are not available in Korea). Seoul’s subway system is very well-developed; just pay attention to the station numbers (e.g., 322 for Sinsa Station) to avoid getting lost.
- Taxis: If you have heavy luggage, use Kakao T to call a taxi or hail a silver/or orange taxi.
2. Details of In-person Hospital Appointments
- Aesthetic Communication: Prepare pictures of the smile you like. Korean doctors aim for the “smile curve”; make sure you know whether you prefer a natural white or Hollywood white look.
- Translation Services: Verify if your appointment includes professional medical translation provided by BeautsGO. Even a 0.1-mm difference in veneer thickness can make a big difference, so communication is essential.
Phase Four: Pre- and Post-Surgery Tips to Avoid Problems
- Dietary Restrictions: While waiting for your temporary veneers, avoid hard or sticky foods like fried chicken or rice cakes, as they may cause the veneers to fall off and lead to tooth sensitivity.
- Tax Refund: Dental cosmetic procedures usually qualify for a 7%-10% tax refund. Be sure to request a Refund Check before leaving the hospital; you can cash it out at an airport machine.
- Post-Surgery Occlusion: If you notice any issues with the fit of your veneers within the first 24 hours, return to the hospital immediately for adjustments.